1) Once you click "Schedule", you will have the option to either choose the exact date and click the "+" sign or click "Create Post".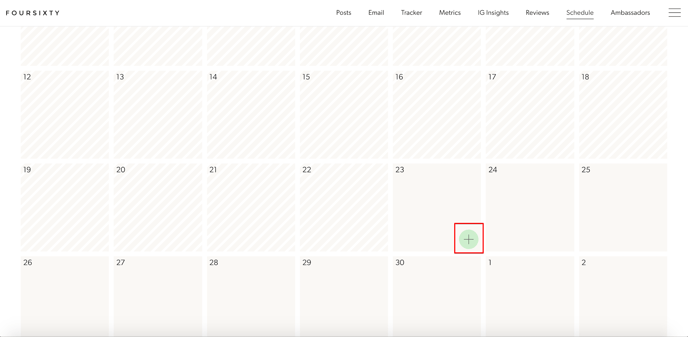
OR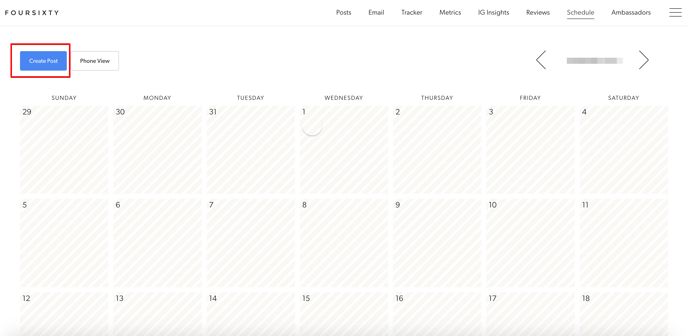
2) Click either one and you will now have a pop up occur.
Start by selecting the account you want to post to:
Followed by selecting the image you want to use for your post: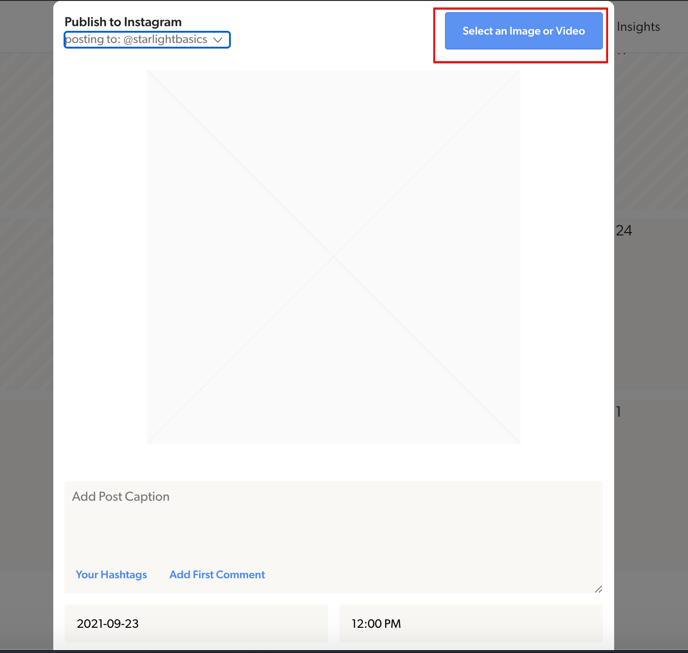
3) Once you have selected the image, you will now want to start tagging the product and/or tag a user for Instagram by clicking "Tag Products/User":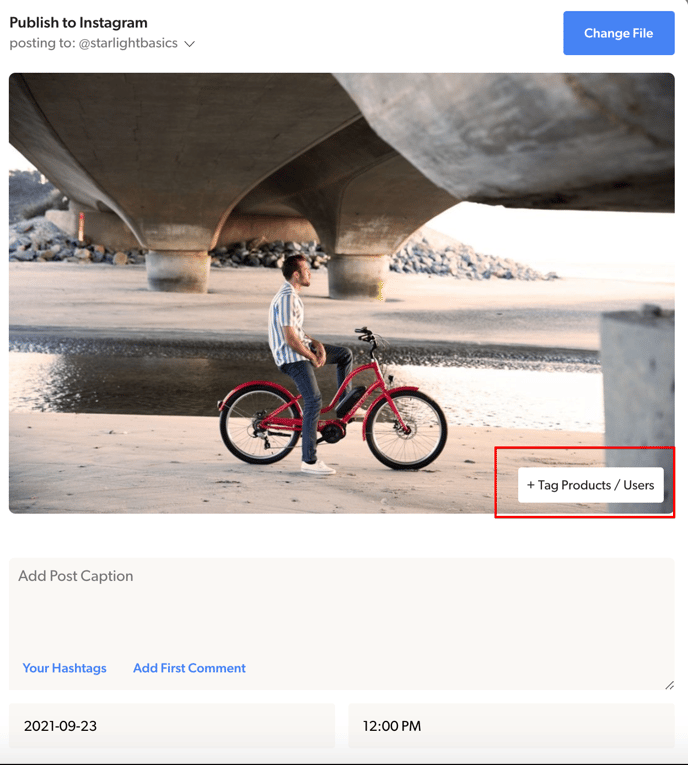
4) Click anywhere on the image (we suggest clicking on the product you want to tag) to have another pop up occur where you tag the product or user.
This looks very similar to your "Posts" area, so proceed to tag the same as you would there: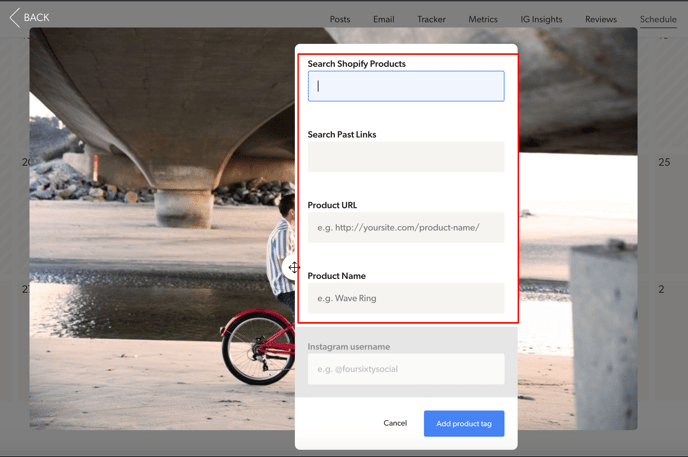
If you wish to tag a user (which you CANNOT TAG A USER AND PRODUCT AT THE SAME TIME, you must tag one at a time) click the "Instagram username" area.
Once you are happy with the tag (product or Instagram user) click "Add...." at the bottom: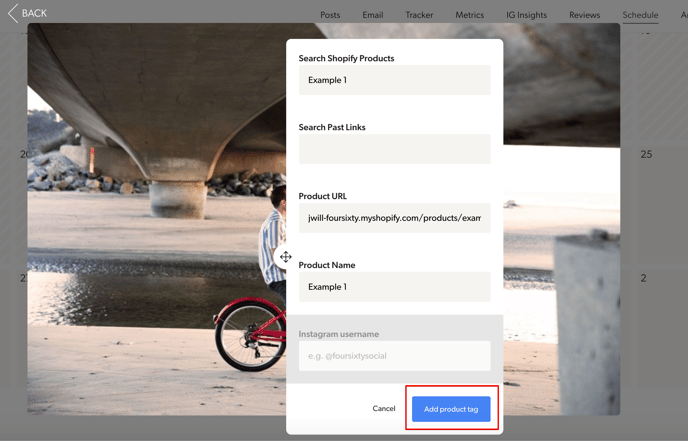
You will see a "@" symbol for a user tag and a number for a product tag: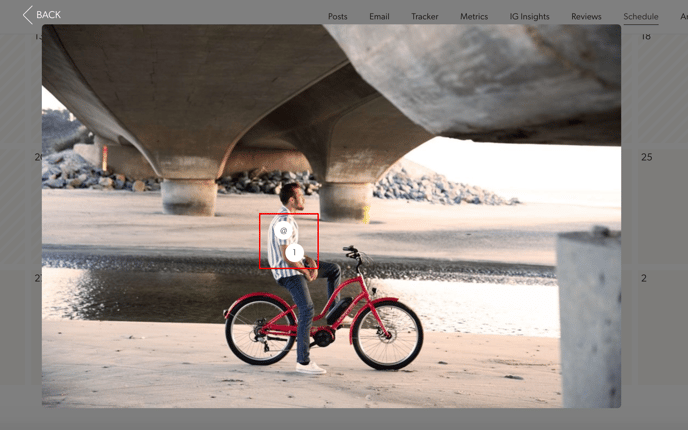
5) Next, you want to write your caption and add hashtags. If you have already started to use the scheduler, you can actually look at hashtags you have used in the past.
If this is new, just write out your hashtags, as you would normally.
When you click "Your hashtags" you will be able to choose and select:
Once you click to "Insert", they will be added like this: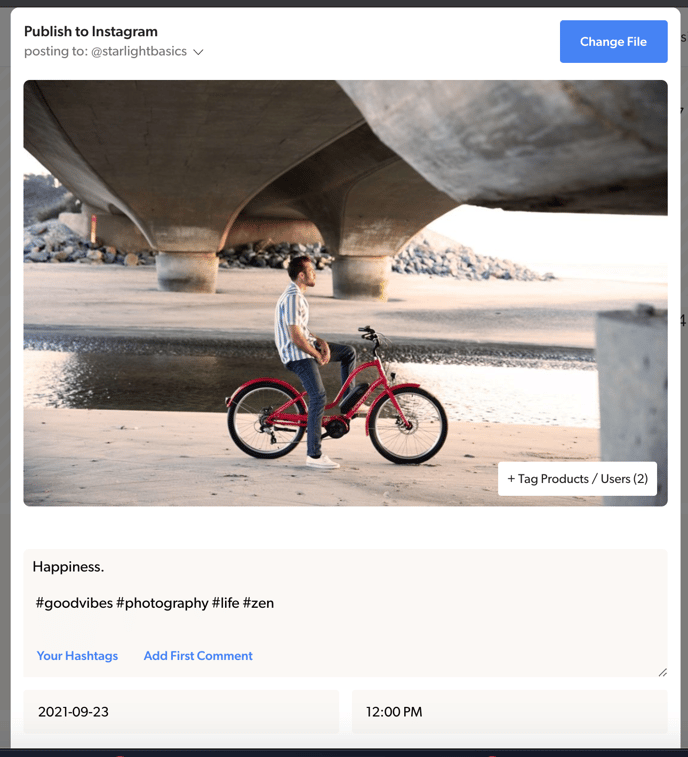
6) Feel free to click "Add First Comment" if you wish to add additional hashtags or any other information you wish.
You will have similar options as the initial caption you set: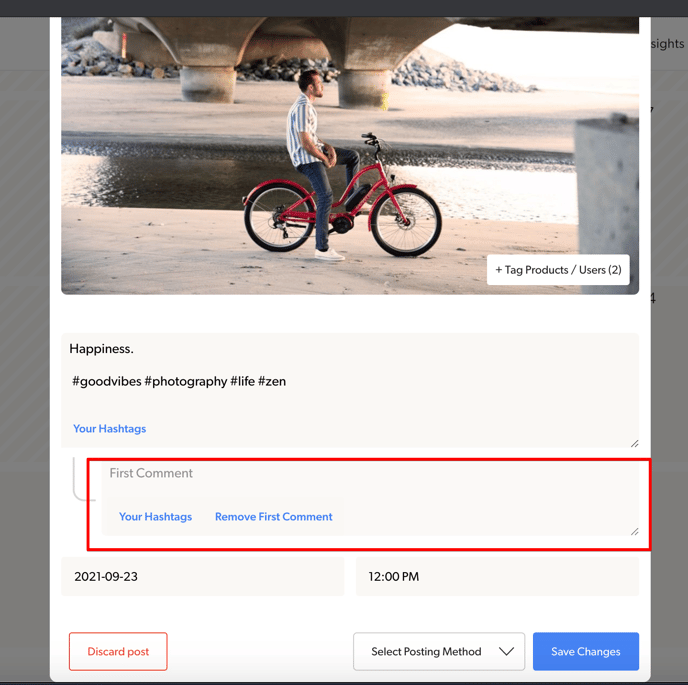
7) You are almost there, you now want to select the time you wish to have the post go live.
Click either the date or the time to select: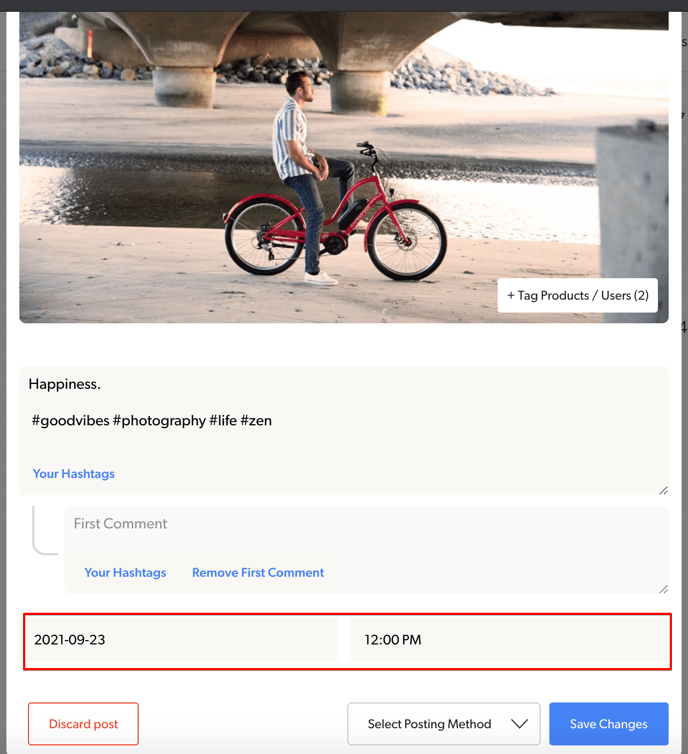
8) Lastly, you want to select the "Posting Method". In this case, you want to select to "Autopublish":
Once you are happy with everything, you can then select "Save Changes" and everything will be set up to autopublish your post live at that time OR, you can "Post Now":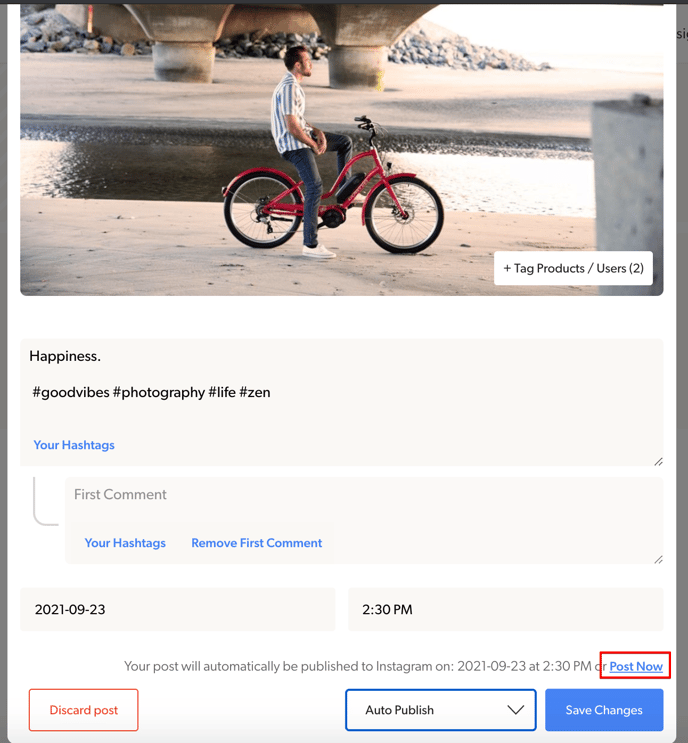
If you choose to save, it will show like this in your calendar (it may take a few seconds to save the image in your calendar, so don't worry if it doesn't show instantly). :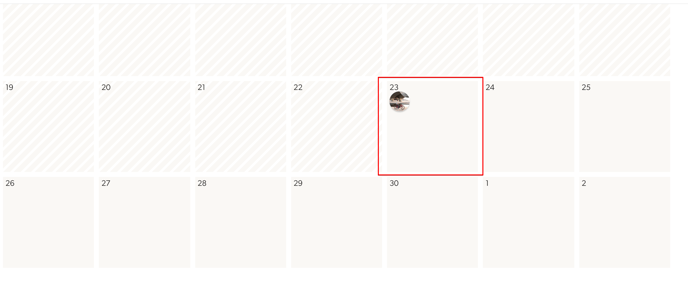
If you run into any issues with this function, please reach out directly at helpme@foursixty.com